Friday, December 28, 2012

Ricotta Cheese Pie

Ricotta Cheese Pie 


This recipe was found under the D tab for dessert.

Happy Holidays! If you're looking for another holiday treat definitely try this recipe. It was hand written by my mother, but I believe the recipe may have originally been my paternal grandmother's. It's definitely a staple in the Italian dessert category and if you haven't had one yet you should definitely start here. This recipe is fairly easy to make and tastes great! 


Ricotta Cheese Pie

2 Lbs. ricotta cheese
6 Eggs
1 Cup chocolate bits
12 Cut up maraschino cherries
½ to 1 Tsp flavor (anise or lemon)
¾ Cup sugar

Mix everything together and turn into uncooked pie
shell in a 12x9 oblong pan. Top with lattice and bake
at 350 degrees for 1 hour. Let cool before cutting.
Rises high!

You may not have all the ingredients in your pantry for this recipe. Be sure you also have at least two uncooked pre-made pie dough rolls. I am not a fan of cherries so I omitted those from my version, but feel free to use them if you'd like. 


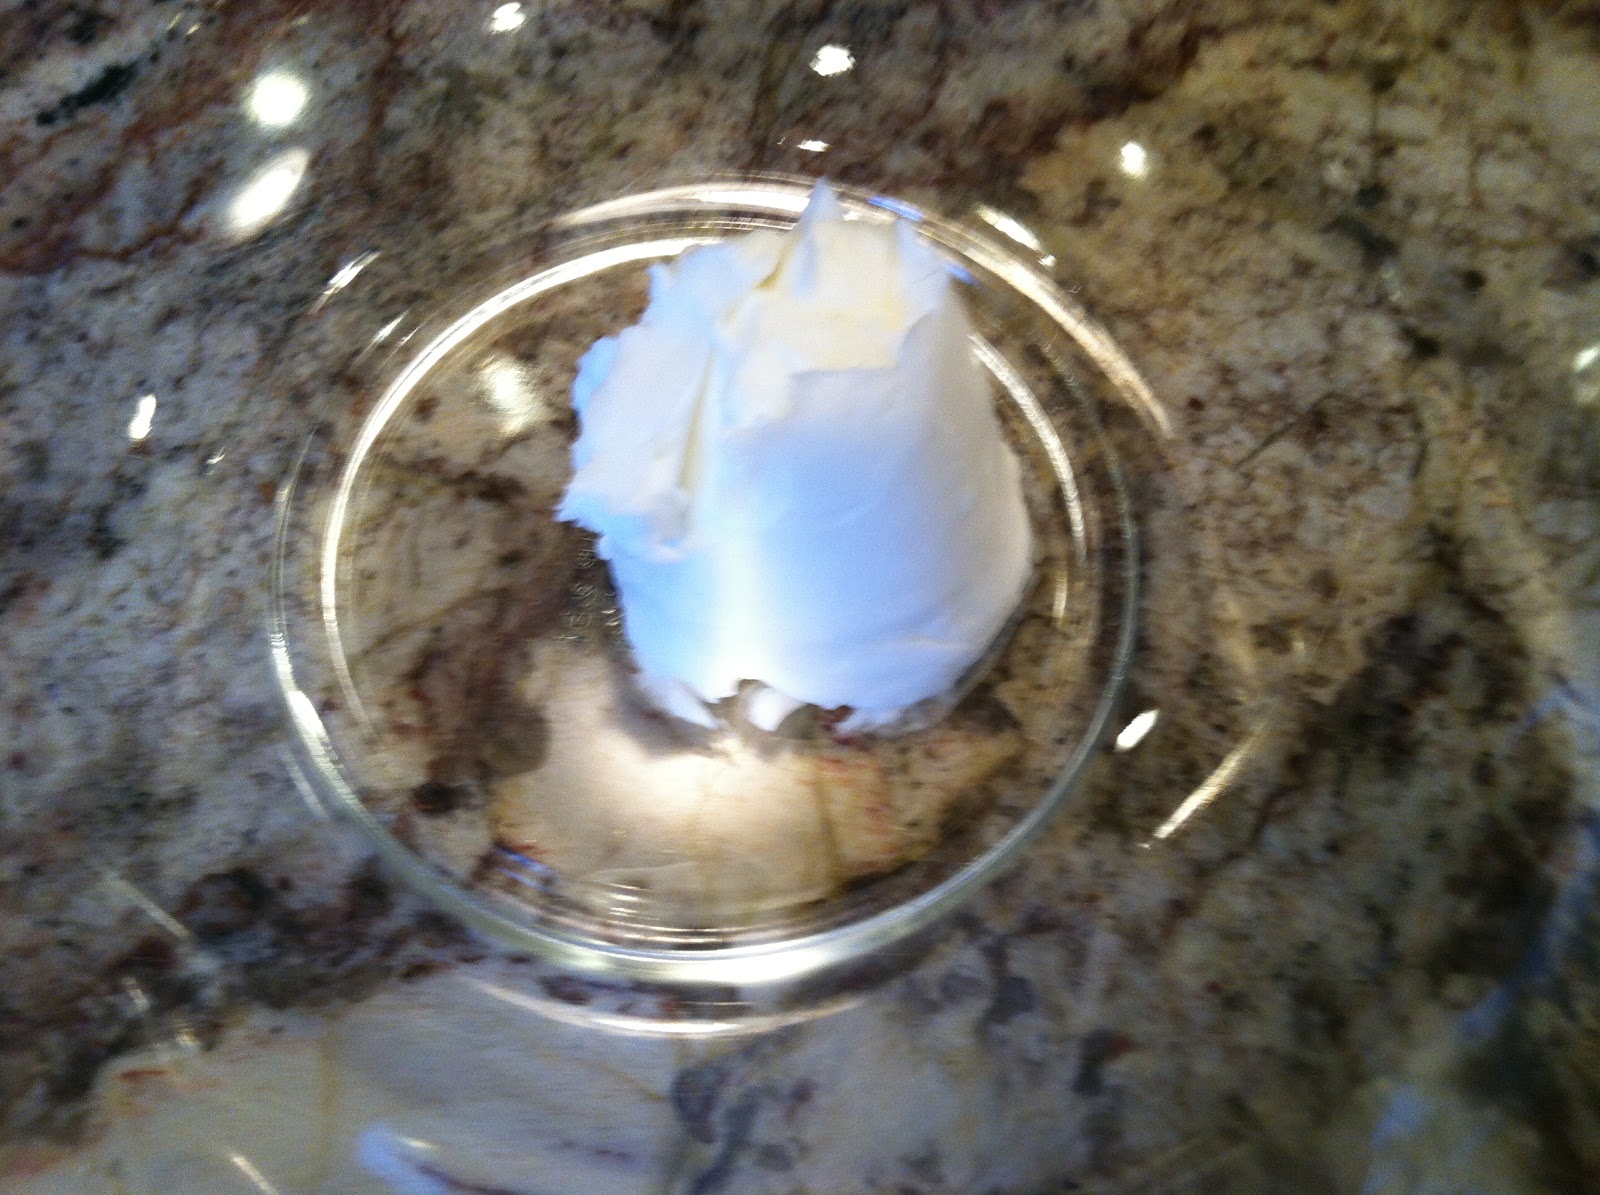
To start you will need to set your oven to 350 degrees and be sure you have your 12x9 pan ready. You are welcome to put the ingredients in a regular pie pan, but there may be too much filling for just one. Next, add the eggs to a large bowl along with the ricotta cheese. 


It's best to mix these together with a wire whisk. You won't need an electric mixer for this recipe. Mix the eggs and cheese together until the eggs are completely combined. 


Once the egg and cheese mixture is ready go ahead and add the chocolate bits, flavoring, and sugar. If you're using the cherries you can add them in here as well. 


I used 1 teaspoon of anise extract, but you can use less or lemon flavor if you'd like. If you haven't had anise flavoring before and are weary of purchasing a whole bottle you can compare it to black licorice. I'm not a fan of black licorice myself, but I enjoy the anise flavor. 


When all of the ingredients are mixed together well you can prepare your baking pan. I used the pre-made Pillsbury pie dough that comes two rolls in a box. I had to stretch it a bit to fit in the bottom of the 12x9 pan, but it worked. 


When you're satisfied with the pie dough coverage go ahead and add the pie mixture to it. 


With the second pie dough roll you will need to make a lattice on the top of the filling. Start by rolling out the dough on a flat surface. 


Use a sharp knife or pizza cutter to slice the dough lengthwise into long 1/2 inch strips. 


When your strips are ready you can begin by adding the strips to horizontally on top of the pie filling. 


Then take the remaining strips lengthwise and weave them under and over the strips you already placed down. 


Continue with each piece of pie dough until you have no more dough left. Don't worry if it's not perfect, mine definitely wasn't!


When the lattice is on the pie go ahead and place it in the preheated oven for 1 hour. Be sure to keep an eye on it because it should cook for exactly an hour. 


When the pie is done let it cool completely before cutting it or it will fall apart. 


If you added the cherries it will be more colorful, but I like it without them. 

I gave this recipe a 5 out of 5 on the yummy scale! 


If you're not a fan of cheese you should at least give this recipe a try. The texture comes out like pie so you wouldn't even know it's all dairy! The rich chocolate flavor really adds to the anise flavor as well. It's fairly easy to make and I definitely recommend giving it a try!


Thursday, December 20, 2012

Christmas Tree Brownies

Christmas Tree Brownies


This recipe was found under the D tab for desserts. 

I love brownies and have never tried decorating them so I figured I'd give this recipe a try. My Mom never made these because I'm sure I'd remember decorating a brownie. The recipe is really easy to follow and looks like it's from an insert on a Duncan Hines box. The hard part is coming up with a nice looking tree! 


Christmas Tree Brownies
(Makes 16 large brownies)

1 Package Duncan Hines Brownie Mix, Regular Size
Multi-colored decorettes
Tiny silver balls

Mix, bake and cool brownies as directed on the label; cut into squares.
Use a cake decorating tube or a plastic bag with one corner snipped off
to make a tree on each brownie with Green Christmas Frosting (recipe
below). Shake multi-colored decorettes on the frosting and put a silver
ball at the top of each tree.

Green Christmas Frosting

2 Tablespoons Crisco
¼ Teaspoon salt
1 Teaspoon vanilla
1 ¾ Cups confectioner’s sugar (sift if lumpy)
2 Tablespoons milk
Few drops green food coloring
Few drops peppermint extract, if desired

Mix Crisco, salt, vanilla and about ½ cup confectioner’s sugar. Add milk
alternately with the rest of the sugar; mix until smooth and creamy. Tint
green if desired, add peppermint extract. Add more sugar to thicken
or milk to thin if needed for good consistency to decorate brownies.


You will also need two eggs, water, and vegetable oil for this recipe to make the brownies. Start by preheating your oven to 350 degrees. Grease your brownie pan with shortening or cooking spray. 

I was unable to find regular brownie mix by Duncan Hines in my grocery store so I opted for the walnut kind. You can use whatever kind you'd like, but stick to the Duncan Hines brand so you can be sure all of the measurements are correct. 


Start by opening the brownie box and putting the mix from the bag into a large bowl. The box will let you know how to make the brownies, but I'll go through step by step as well. I opted for the "Cake-Like Brownies". Add 2 eggs, the water, and vegetable oil to the box mix. 


Don't use an electric mixer for this recipe. It's really easy to combine with a regular spoon or spatula. The box recommends mixing it for 50 strokes, but just mix it until all of the dry ingredients are incorporated. It will remain slightly lumpy when it's ready. 


When the mixture is ready to bake transfer it to the greased brownie pan. Make sure it is spread out evenly so the edges don't burn. 


Follow the directions on the back of the brownie box for cooking times. I used a dark pan at 325 degrees for 30 minutes. Be sure your brownies are completely baked by inserting a tooth pick into the center. If the tooth pick comes out clean then the brownies are ready to come out of the oven. 


Yum! Let the brownies cool completely before starting the decorating part. I have a granite counter top so it only took about 2 hours for them to cool.

When they've cooled you can cut them into squares. The box and recipe say it will make 16 brownies, but I just cut them large enough to decorate. Using a plastic knife works best so the brownies don't stick when you're trying to cut them into squares. 


You can either leave them in the pan to decorate or take them out. I chose to take them out since it would be easier to place them on another plate to display later. 


The next step is to prepare the frosting for the brownies. 


In a mixing bowl add the Crisco, salt, vanilla, and 1/2 cup of the confectioner's sugar. 


Mix it together until you have a lumpy texture like this:


Next, add about 1/2 of a tablespoon of milk. You'll add the rest later.


The mixture will be very dry and thick. Don't worry we'll add to it later on.


Alternately add the milk and confectioner's sugar to the icing mixture until it has all been used. If the mixture is too thick you can use more milk. If it's too thin add more confectioner's sugar. You want to have a semi-thick consistency since you'll be spreading it on the brownies. 


Next, add the mint flavoring (if you like the taste) and the green food coloring. 


Mix the frosting until the coloring has been completely incorporated. If the green is too light then you can add more drops until you get the color you like. 


When your frosting is ready to be used you can either use a frosting bag or create one by using a plastic sandwich bag. I used a plastic bag. Fill it a little bit with the icing, but don't seal it. 


Snip the opposite corner of the plastic bag with scissors. Be careful only to cut a small part of the corner or the icing will come out in a large blob!


Push the icing to the snipped side of the bag and start your decorating! 


Don't worry if your decorating skills aren't so great. Mine are nothing to be proud of! Start by making a Christmas tree outline and then fill it in with the icing. 


Once the brownie has been iced you can decorate it however you'd like. The recipe says to use silver balls at the top of each tree and then use multicolored sprinkles all over the tree. I just played around with the topping I had and came out with this:


It's a  little messy, but it's only going to be eaten anyways! 

I gave this recipe a 5 out of 5 on the yummy scale! 


The recipe was really easy to follow since it was just a brownie box mix. I also liked that you could be creative with the decorating. If you don't want to make the icing you can always just buy a tube of green ready-to-use  decorating icing. The brownies are very chocolaty and delicious! This is a great recipe to do with kids. They will love decorating and making their own masterpiece that they get to eat! 

Have fun decorating and Happy Holidays to you and your family!! 

Friday, December 14, 2012

Gingersnaps

Gingersnaps


This recipe was found under the C tab for cookies. 

Day #5 of holiday cookie recipes!

I've never eaten or tried to bake a gingersnap so when I came across this recipe I knew I had to try it! This is another recipe that my Mom never made and looks like it is a  newspaper clipping. The recipe is fairly easy to follow, but you will need a rolling pin and cookie cutter (any shape will do). Time to bake the cookies! 


Gingersnaps

1 Cup molasses
½ Cup shortening
3 ¼ Cups whole wheat flour
½ Teaspoon baking soda
1 Tablespoon ginger
1 ½ Teaspoons salt

1. Heat molasses to boiling and pour over the shortening. Sift
together the flour, baking soda, ginger and salt and stir into the
molasses and shortening mixture.
2. Shape ¼ of the mixture at a time. Keep the rest of the dough
refrigerated until ready to use.
3. Roll out the dough as this as possible and cut it with a small
round cutter. Bake until crispy and dry, 8 to 10 minutes in a
350 degree oven.
4. Makes three dozen.

The ingredients for this recipe are fairly simple. However, you may not have molasses or whole wheat flour in your pantry. You will also need a rolling pin and cookie cutter of any shape. 


Start by preheating your oven to 350 degrees. The first step will be to heat the molasses in a saucepan until boiling. 


In the meantime, put the shortening in a bowl. It's best to use a large bowl. 


You can also prepare the dry ingredients in a separate bowl. Sift together the whole wheat flower, baking soda, ginger, and salt. 


When the molasses has come to a full boil you can pour it over the shortening. 


The shortening should melt fairly quickly into a clear liquid. Keep stirring the molasses until the shortening has been completely melted. 


When the shortening is melted you can pour the dry ingredients into the mixture. 


Mix the dry and wet ingredients together well until you have a somewhat doughy consistency. 


Don't  be afraid to use your hands to make sure all the ingredients are incorporated. You will need to prepare a flat surface (counter top) by placing wax paper down and then spreading the dough out with a rolling pin. 


Roll the dough until it is completely flat like this:


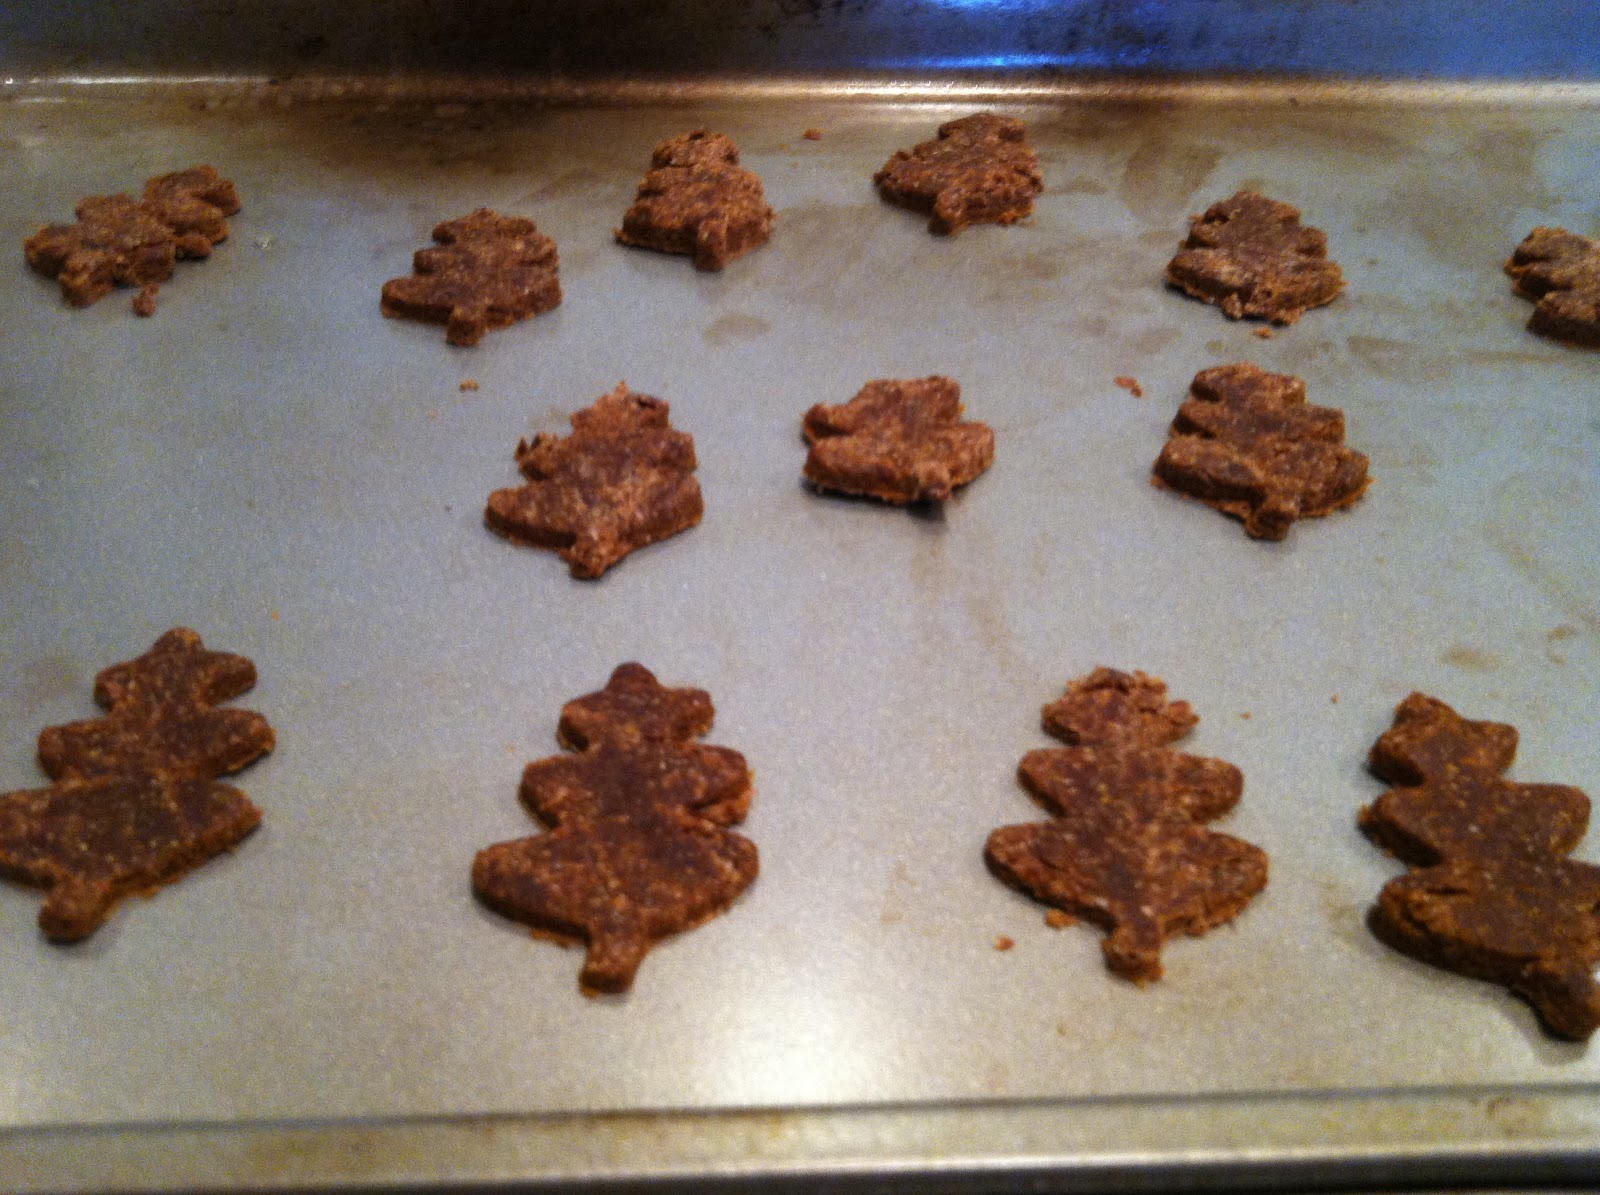
When the dough is ready you can cut out the cookies by pressing the cookie cutter into the dough. 


Place each cookie on a cookie sheet. Don't worry about leaving too much space in between them because they will not expand as they cook. 


When all of your cookies have been cut out you can place them in the oven for about 8 to 10 minutes. Keep an eye on them so they don't burn. They should be hard and crunchy when they're ready. Place them on a wire rack or wax paper for cooling. 


The cookies will be very hard, but don't worry! That's how they should be. 


The recipe is was fairly easy to make and didn't take much time to prepare or bake, but I didn't completely enjoy the flavor of the cookie! 

I gave this recipe a 2 out of 5 on the yummy scale!


You may enjoy the flavor if you like molasses and and ginger. You would also like it if you enjoy crunchy hard cookies. I would say it's definitely worth trying!

Thank you for stopping by this week for my holiday cookie blog edition! I'll have another interesting recipe for you next week!