Stuffed Peppers a l'olive
This recipe was found under the V tab for vegetables.
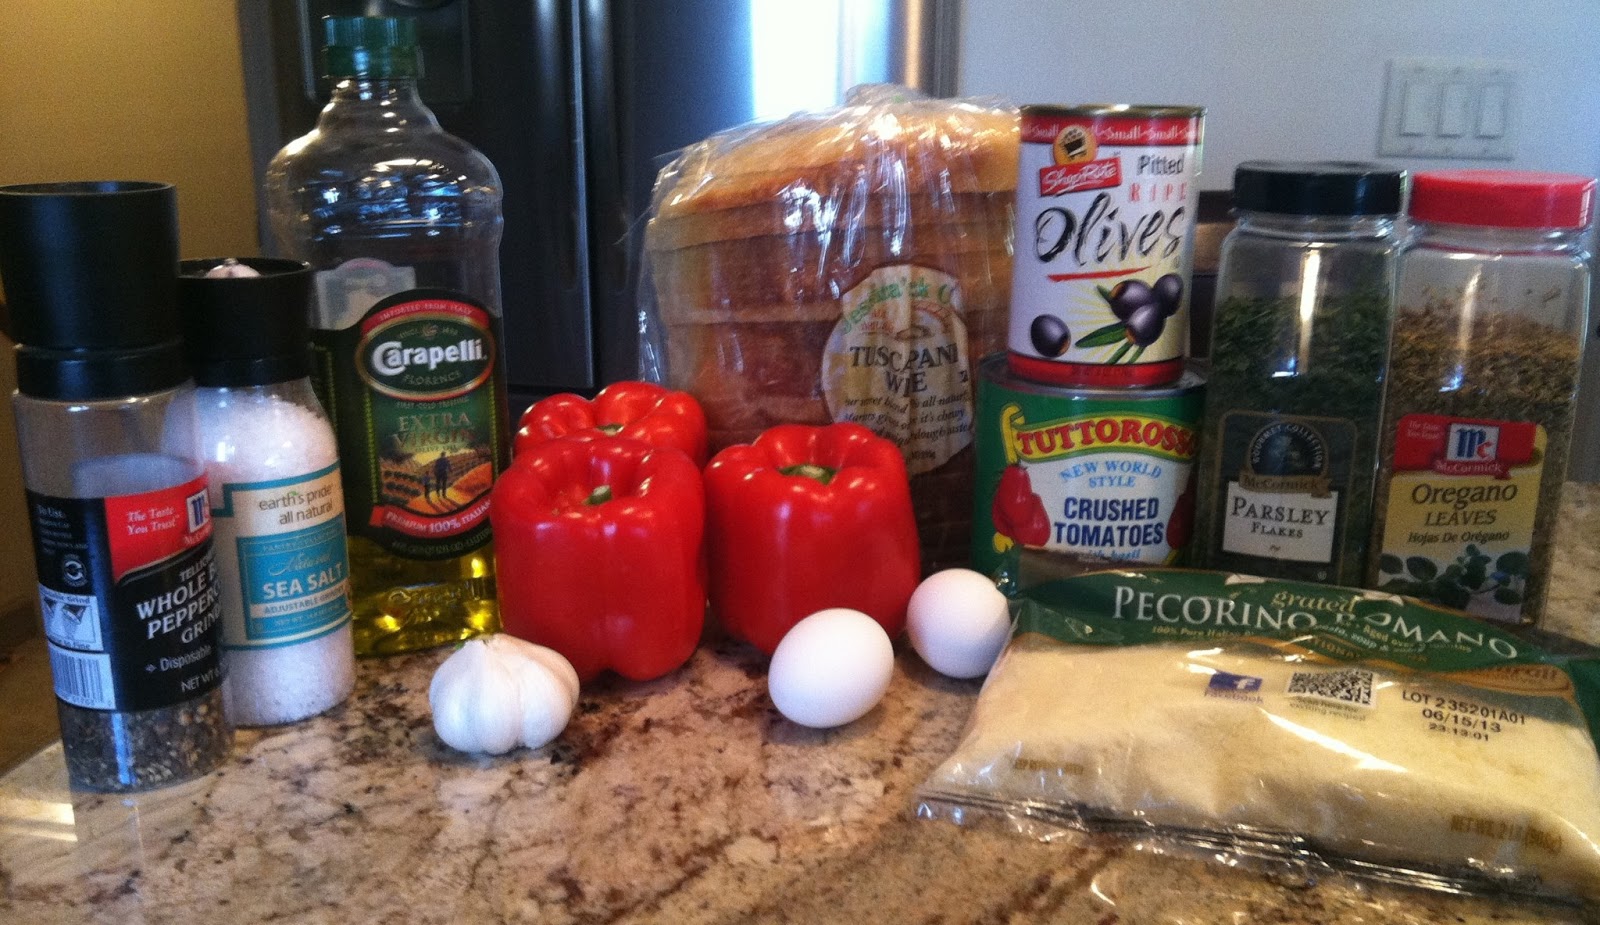
I've only had a few stuffed peppers in my life and usually they feature sausage or ground beef. When I saw this recipe and that it is vegetarian I knew I had to give it a try. The ingredients are simple, but make sure you have a stale loaf of bread. If you don't have one laying around you can sometimes find day old bread (or few days old) at grocery stores. Also, don't worry about the color of the pepper. The recipe calls for green, but I used red because they were available at the store.
Stuffed peppers a l’olive
6
Large green peppers
1
Loaf stale white bread (soaked in water)
1
Can diced black olives
3
Eggs
2
Sprigs fresh parsley, chopped
¼ Teaspoon
minced garlic
½ Teaspoon
oregano
1
Tablespoon grated Parmesan cheese
2
Cans tomato sauce
½ Cup
oil
Salt
and pepper to taste
1.
Remove core from peppers- wash, drain, set aside. Squeeze wet bread
until
dry- put in bowl, add other ingredients including water from black
olives.
Mix well.
2.
Fill each pepper to top. Put in shallow pan with oil. Bake at 450 degrees
until
golden brown. Remove from oven, add tomato sauce, oregano, salt,
pepper
to taste.
3.
Bake in moderate oven, 350 degrees, for 20 minutes. Serve hot or cold.
4.
Serves six.
This recipe has a few confusing aspects such as telling you to add all the ingredients to the mixture that goes into the pepper, but then telling you to add the tomato sauce and oregano to the top. It also never tells you to add the cheese! I just tried to figure it out myself...
The first thing you'll need to do is set your oven to 450 degrees and soak your bread. The recipe doesn't tell you to cut up the bread, but it is much easier to work with if you do.
Once the bread is cut up and put into a bowl you will need to fill the bowl with water and let the bread sit until you add it to the pepper mixture.
When your bread is put aside go ahead and wash the outside of each pepper. This recipe calls for six peppers, but I cut it in half knowing we wouldn't eat that many. Once the peppers have been washed you will need to cut the stems out by cutting a circle around it and pulling it out:
When you pull the stem out of the pepper you will see the seeds insides. To get these out just use your fingers and then run water in them until all the seeds are gone.
When all of your peppers are ready to be stuffed they should look like this:
Go ahead and squeeze the water out of the bread and place it in a dry bowl.
This is the tricky part; the recipe tells you to add the other ingredients, but which ones?! I just added everything from the left section since the right side of the ingredient list looked like it should be going on top later in the recipe. So I started by cutting up the black olives.
When the olives are a good size you can go ahead and add them and some of the liquid from the can to the bread in the bowl.
Next I added the eggs to the bowl.
Next came the parsley. Unfortunately I didn't have any fresh parsley on hand so I used the dried flakes. You can use whatever you have available.
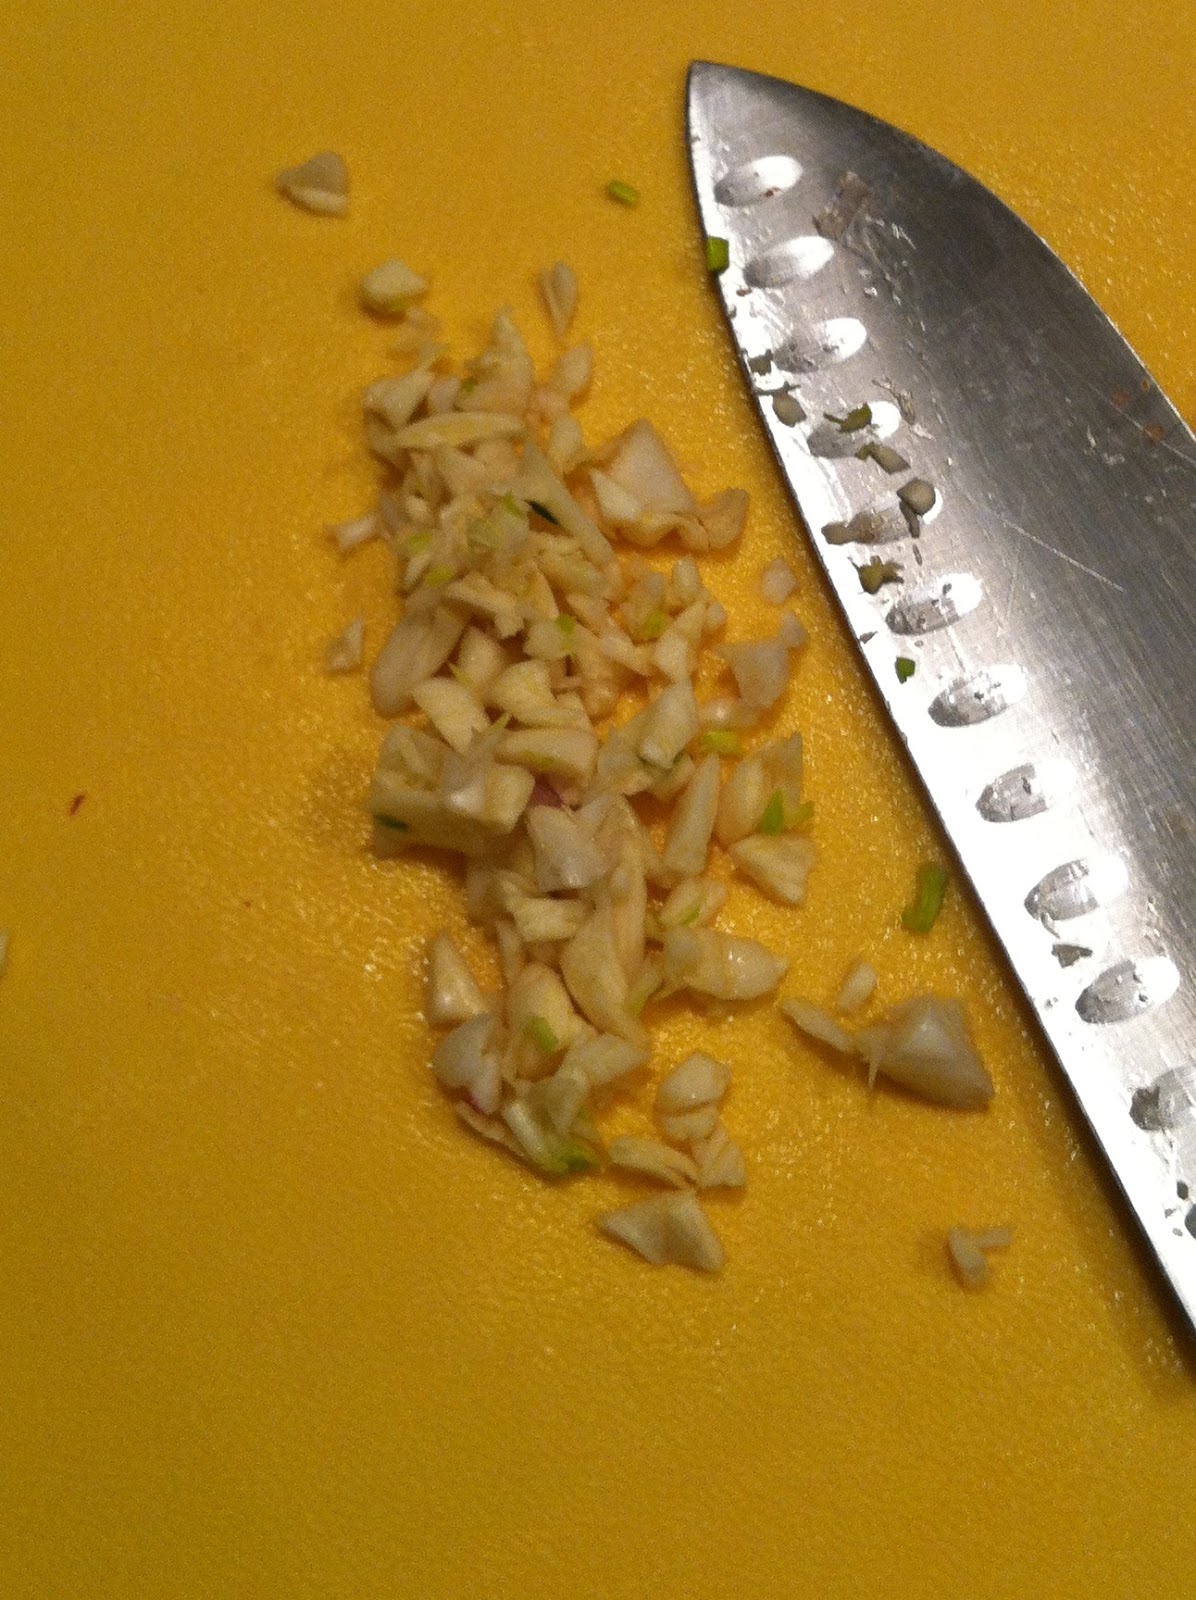
The recipe only calls for 1/4 teaspoon of garlic, but I like a lot of garlic so I added about 3 finely chopped cloves.
Place the garlic into the bowl with the rest of the ingredients and begin mixing it all together.
When the mixture is ready it will be pretty gooey.
Go ahead and add the mixture to each pepper. You can use your hands for this part, but I found it easier to use a regular spoon to pack the stuffing in each one.
When t he peppers are ready to be cooked they should be stuffed to the top of the pepper. Be sure to push the stuffing down to be sure there aren't any air pockets left.
Place the peppers in a shallow pan for cooking. Make sure the pan is okay for use in the oven.
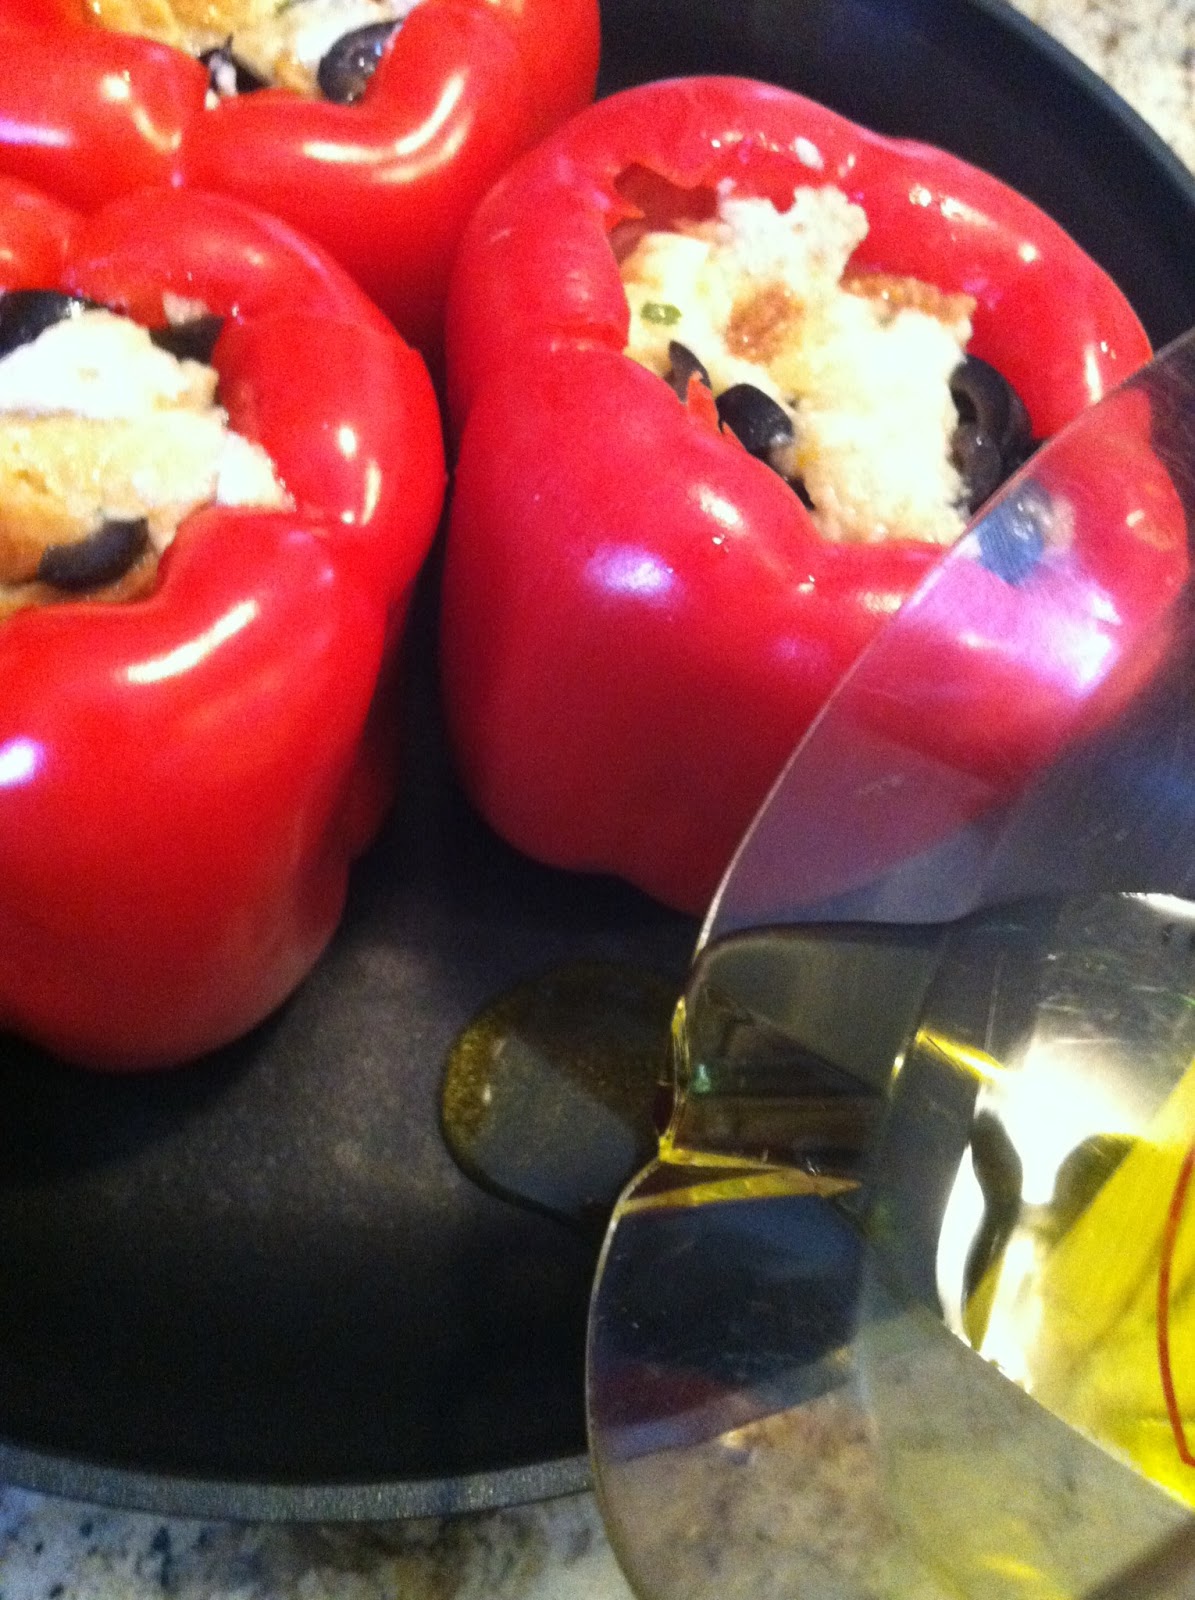
When your peppers are positioned in the pan go ahead and add the olive oil to the bottom of the pan. This will help to brown the bottoms of the peppers.
When your peppers are safely in the pan with the oil go ahead and put them in your preheated oven. You will have to keep an eye on them since the recipe doesn't give you a specific time to cook them. They will be browned on the top when they are ready. Mine took about 30 minutes.
When the tops of the bread and peppers are browned go ahead and take them out of the oven. You will then add the tomato sauce, oregano, salt, and pepper to the tops. You will also need to turn your oven down to 350 degrees.
The recipe doesn't let you know when to put the cheese on the peppers, but you can either wait to put it on once they are cooked or go ahead and add it to the top half way through the next cooking section. When the tomato sauce is added to the peppers go ahead and put them in the oven for cooking for another 20 minutes. When they are done they should look like this:
I completely forgot the cheese, but you can add it now if you'd like. Then go ahead and dig in!
The recipe says you can eat them hot or cold, but I definitely recommend eating them when they're hot. Just be careful not to burn yourself!
As you can probably see from the picture above the stuffing for the peppers has the consistency of mush. If you are going to make this recipe I highly recommend NOT soaking the bread. With the olive juice and eggs in the stuffing there's not need to soak the bread and it just makes the stuffing rather revolting!
Unfortunately I gave this recipe a 1 out of 5 on the yummy scale !
You can definitely try making these I would just be sure you tweak them a little so they don't end up mushy inside. Good luck!
When all of your peppers are ready to be stuffed they should look like this:
Go ahead and squeeze the water out of the bread and place it in a dry bowl.
This is the tricky part; the recipe tells you to add the other ingredients, but which ones?! I just added everything from the left section since the right side of the ingredient list looked like it should be going on top later in the recipe. So I started by cutting up the black olives.
When the olives are a good size you can go ahead and add them and some of the liquid from the can to the bread in the bowl.
Next I added the eggs to the bowl.
The recipe only calls for 1/4 teaspoon of garlic, but I like a lot of garlic so I added about 3 finely chopped cloves.
Place the garlic into the bowl with the rest of the ingredients and begin mixing it all together.
When the mixture is ready it will be pretty gooey.
Go ahead and add the mixture to each pepper. You can use your hands for this part, but I found it easier to use a regular spoon to pack the stuffing in each one.
When t he peppers are ready to be cooked they should be stuffed to the top of the pepper. Be sure to push the stuffing down to be sure there aren't any air pockets left.
Place the peppers in a shallow pan for cooking. Make sure the pan is okay for use in the oven.
When your peppers are positioned in the pan go ahead and add the olive oil to the bottom of the pan. This will help to brown the bottoms of the peppers.
When your peppers are safely in the pan with the oil go ahead and put them in your preheated oven. You will have to keep an eye on them since the recipe doesn't give you a specific time to cook them. They will be browned on the top when they are ready. Mine took about 30 minutes.
The recipe doesn't let you know when to put the cheese on the peppers, but you can either wait to put it on once they are cooked or go ahead and add it to the top half way through the next cooking section. When the tomato sauce is added to the peppers go ahead and put them in the oven for cooking for another 20 minutes. When they are done they should look like this:
I completely forgot the cheese, but you can add it now if you'd like. Then go ahead and dig in!
The recipe says you can eat them hot or cold, but I definitely recommend eating them when they're hot. Just be careful not to burn yourself!
As you can probably see from the picture above the stuffing for the peppers has the consistency of mush. If you are going to make this recipe I highly recommend NOT soaking the bread. With the olive juice and eggs in the stuffing there's not need to soak the bread and it just makes the stuffing rather revolting!
Unfortunately I gave this recipe a 1 out of 5 on the yummy scale !
You can definitely try making these I would just be sure you tweak them a little so they don't end up mushy inside. Good luck!


