Applesauce Cake

This recipe was listed under C for cakes.
A lot of people use applesauce in their baking instead of dairy products now. This recipe is older, but I'm not exactly sure where it came from. It's interesting to see that a popular way of cooking was trending back when my Mom was collecting recipes as well.
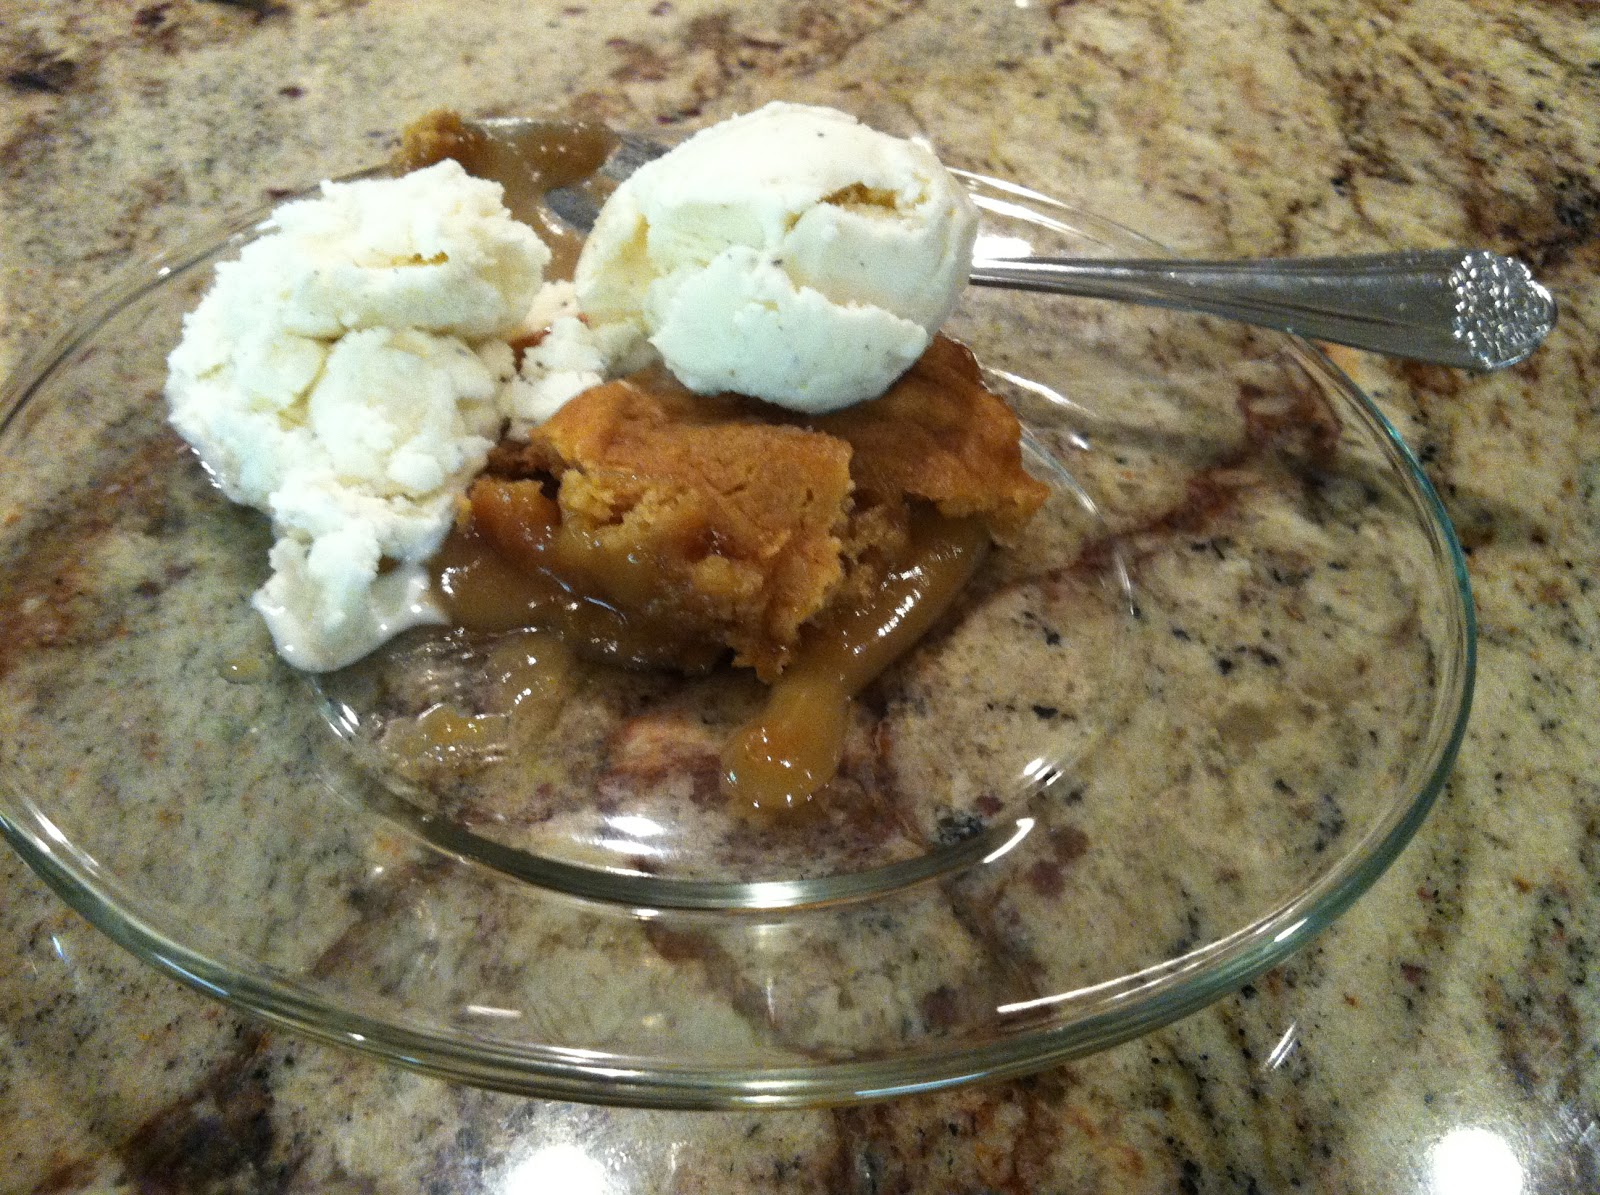
This cake is more of a bread than a cake, but is worth trying! It will make your house smell delectable while it's cooking!
The original:
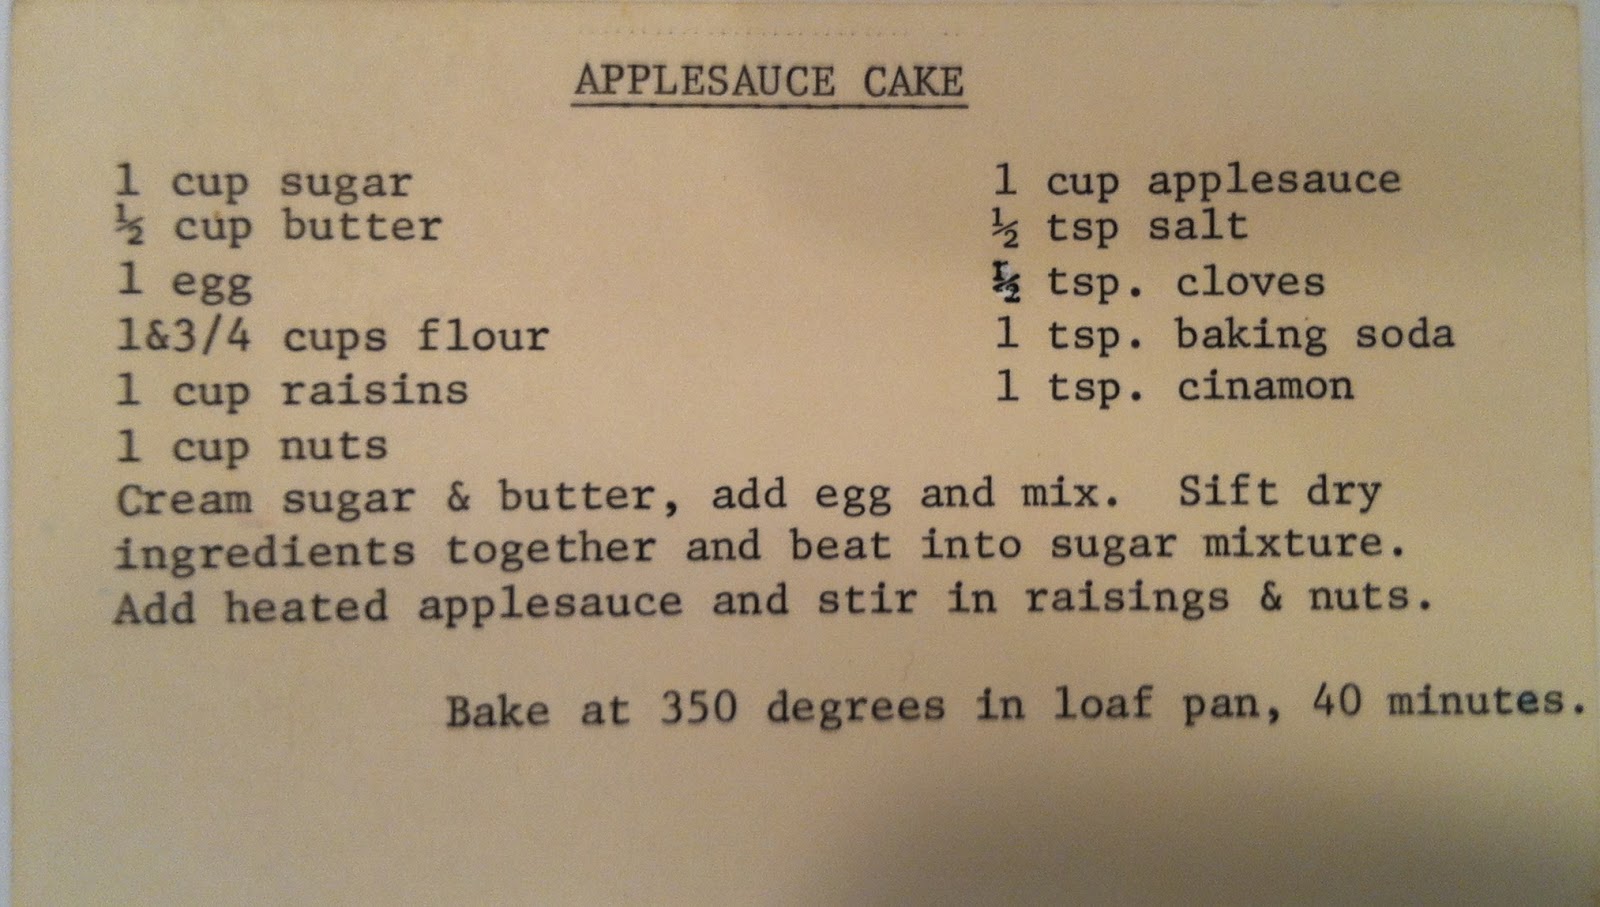
Applesauce Cake
1
Cup sugar
½ Cup
butter
1
Egg
1
& ¾ Cups flour
1
Cup raisins
1
Cup nuts
1
Cup applesauce
½ Tsp
salt
½ Tsp
cloves
1
Tsp baking soda
1
Tsp cinnamon
Cream
sugar & butter, add egg and mix. Sift dry ingredients
together
and beat into sugar mixture. Add heated applesauce
and
stir in raisins & nuts.
Bake
at 350 degrees in loaf pan, 40 minutes.
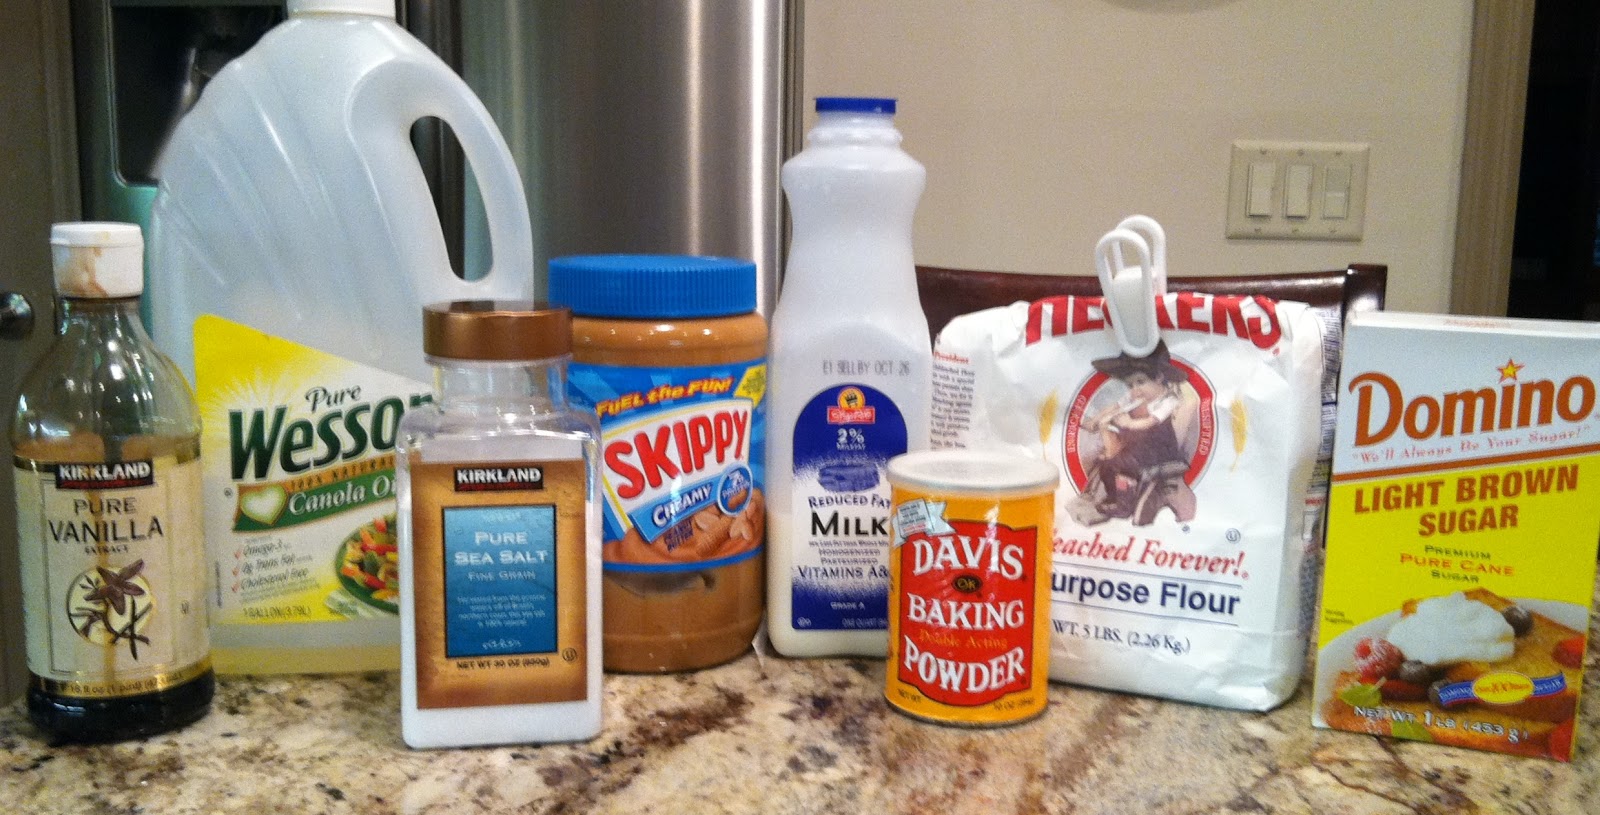
This recipe is fairly easy to follow, but definitely be sure to preheat your oven before starting and grease your loaf pan. You could also use a regular cake pan if you'd rather have a cake shaped treat!

First you'll want to warm up the butter so it will mix well with the sugar. A 1/2 cup of butter is one full stick. I heated mine for about a minute and it was a nice soft texture to work with after. Combine the butter with the sugar in your bowl. You should have a lumpy mixture like this:

Now you can add the egg to the sugar and butter and mix until it is light and fluffy.

Once the egg has been mixed in with the sugar and butter you can put the mixture aside. You'll need another bowl and a sifter for the next step. Sift together the flour, salt, cloves, baking soda, and cinnamon. By sifting them together you're ensuring that the spices will distribute evenly and there won't be any lumps of dry ingredients.

When you've finished sifting together the dry ingredients, go ahead and add them to the original sugar mixture. Continue mixing until the dry ingredients have been incorporated. It will seem very dry, but don't worry; we'll add the applesauce soon and that will moisten it up.

When the dry ingredients have been incorporated into the mixture you're ready to add the applesauce. I used cinnamon applesauce, but feel free to use any flavor you'd like. You can also use a chunky style for larger pieces of apple. Before adding the applesauce to the mixture be sure to heat it until warm. Mix until the ingredients are well incorporated.

Yum! The mixture smells so good! Now you can add the raisins and nuts, but don't use an electric mixer for this part. You can just mix them in with a spatula or spoon. I used walnuts that I chopped into chunky pieces. I also omitted the raisins since I'm not a big fan of them. You can use any kind of nut or dried fruit that you like.

Be sure to mix the nuts and dried fruit evenly. Your final mixture should look similar to this:

When all the ingredients have been added to the mixture go ahead and put it into your greased loaf pan or whatever size/shape pan you're using.

It's ready for the oven now! The recipe says it will be done in 40 minutes, but mine took a full hour and could probably have even used a little more time. Go ahead and insert a toothpick into the center of the loaf after 40 minutes and if it doesn't come out clean then put it back in for a few more minutes. Keep cooking the loaf until the toothpick comes out clean. Let the bread cool for about 10 minutes before turning it out of the pan onto a cooling rack.

Unfortunately my 'cake' broke in half, but it still tasted great!
I gave this recipe a 4 out of 5 on the yummy scale

The cake was definitely moist and had great flavor, but it had a little too much spice for my liking. If I ever remake the cake I would use only about 1/4 teaspoon of cloves and also make the walnut chunks larger. Overall this is a great fall recipe!