Friday, November 9, 2012

Raspberry Funnycake

Raspberry Funnycake


This recipe was under D for desserts in the recipe box. 

I was immediately drawn to it because of it's name. I'd never heard of a funnycake before and wondered what it could be. I glanced at the ingredients and agreed that it seemed like a strange dessert item. Why bake a cake inside of a pie crust?!

My mom had never made it before, but her mother (my grandma) used to cook with Bisquick all the time. She thinks that's the reason she cut this out of a newspaper and added it to her collection of (strange) recipes!

I made a few changes as I baked it because some things were just a little too "funny" for my liking, but feel free to do the same or bake it as it is. Here's the original:
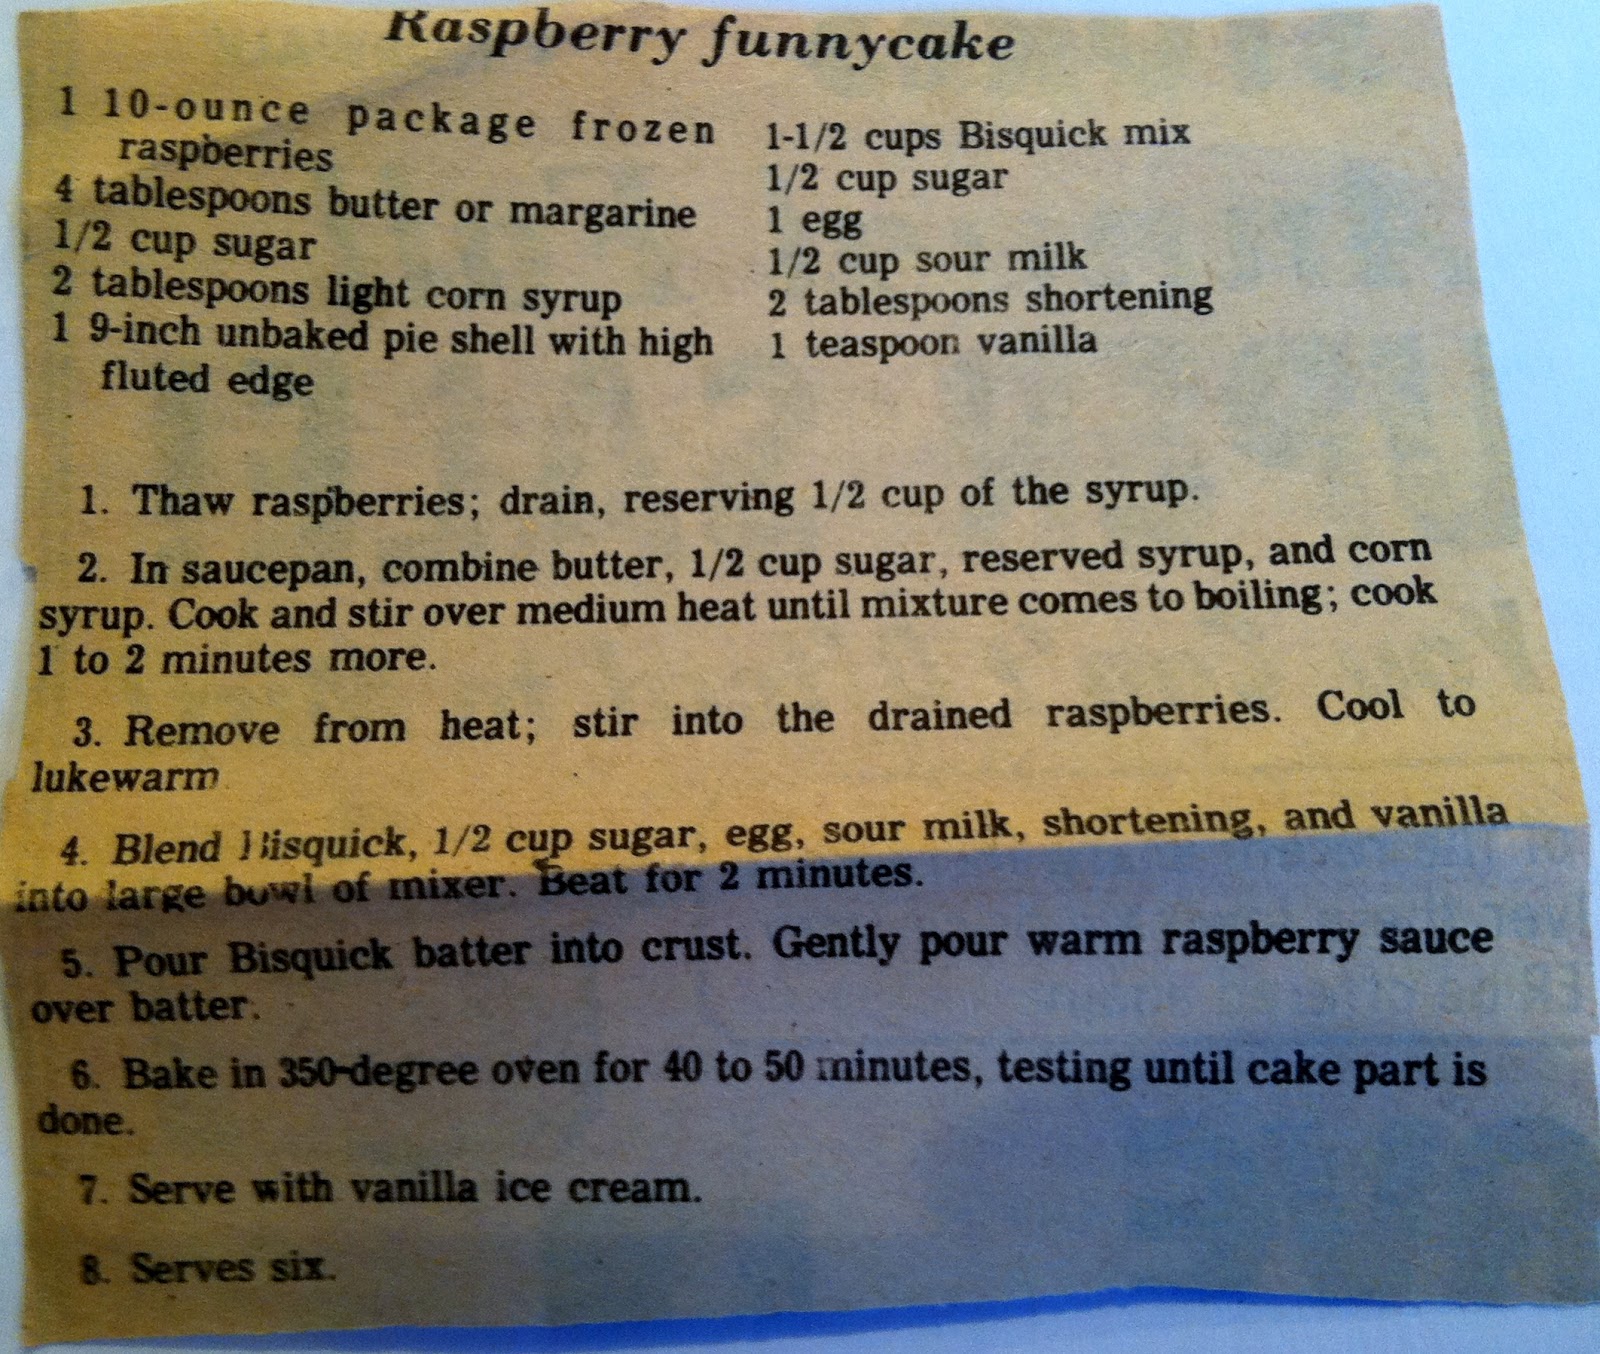


Raspberry Funnycake
1 10- ounce package frozen
   raspberries
4 Tablespoons butter or margarine
½ Cup sugar
2 Tablespoons light corn syrup
1 9-inch unbaked pie shell with high
   fluted edge
1& ½ Cups Bisquick mix
½ Cup sugar
1 Egg
½ Cup sour milk
2 Tablespoon shortening
1 Teaspoon vanilla

1. Thaw raspberries; drain, reserving ½ cup of the syrup.
2. In saucepan, combine butter, ½ cup sugar, reserved syrup and
    corn syrup. Cook and stir over medium heat until mixture comes to
    boiling; cook 1 to 2 minutes more.
3. Remove from heat; stir into the drained raspberries. Cool to lukewarm.
4. Blend Bisquick, ½ cup sugar, egg, sour milk, shortening, and vanilla into
    large bowl of mixer. Beat for 2 minutes.
5. Poor Bisquick batter into crust. Gently pour warm raspberry sauce over
    batter.
6. Bake in 350-degree oven for 40 to 50 minutes, testing until cake part is done.
7. Serve with vanilla ice cream.
8. Serves six. 

The ingredients were fairly easy to find. However, I didn't have frozen raspberries, corn syrup, or an unbaked pie shell on hand. I was able to find all of the items easily in my local grocery store. You might be thinking the same thing I did . . . sour milk?! Unfortunately, I'm not brave enough to try that one out (nor did I have sour milk on hand) so I just used regular milk. Hopefully that wasn't supposed to be the funny part of the cake! 


For the uncooked pie shell I found a package of two in the frozen aisle near the ice cream. By "fluted" they mean those bumps around the top edge of the crust. (The ones you usually make with your fingers when you make a pie crust from scratch) They generally only come in "deep dish" variety which is okay, you'll need all the room you can get! 

Let's get started. Preheat your oven to 350 degrees. First, you'll need to thaw out those raspberries. If you don't have the time to let them thaw out in the refrigerator then you can place them in a microwave safe bowl and put them on the "defrost" setting for about 3 minutes. Once the berries are no longer frozen, get a strainer (any size will work) and transfer the berries into it. Be sure to place another bowl underneath it to avoid raspberry juice getting all over your kitchen! 


Once you have drained at least a 1/2 cup of the raspberry juice (syrup), add it to a medium sized sauce pan along with the butter, 1/2 cup of sugar, and the corn syrup. 


Cook this on low to medium heat (depending on the size of your burner) while stirring, until it starts to boil. It has a wonderful aroma and will make your house smell delicious! Once the mixture is boiling turn the heat down as low as it can go and cook for another 2 minutes. Your mixture should end up like this: 


Pour this mixture into the thawed raspberries in another bowl and set it aside to cool while you continue with the rest of the recipe. 


Next, add the Bisquick, 1/2 cup of sugar, egg, (sour) milk, shortening, and vanilla into a mixing bowl. You can use a hands free mixer for this, but I just used the electric beater and it worked fine. For the shortening I used Crisco vegetable shortening. 


Turn your mixer on and blend the ingredients together for about 2 minutes.You should end up with a somewhat loose batter that has a slight brown color to it (from the vanilla). 


When the Bisquick mixture is ready go ahead and pour it into the bottom of your pie crust. The pie crust I bought comes in a foil tin which is okay to put right in the oven, but I highly recommend cooking it on top of a cookie sheet with a lip because the juices will spill over and no one likes the smell of burning raspberry juice in the oven! 


It seems weird pouring a cake batter into a pie crust and it is, but trust me...it doesn't taste the way it looks! Once the Bisquick mix is in the pie crust, go ahead and pour the raspberry mixture over it. The crust should fill up right to the edge. 


Such a pretty pie/cake thingy! Now it's time to bake. Again, put the pie on a cookie tray with a lip to be sure it doesn't bubble over while cooking. Place it in your 350 degree oven and set your timer. Mine cooked for longer than 50 minutes. It was actually 1 hour and 5 minutes, but it may depend on your oven. You can tell when it's done by inserting a tooth pick into the center. It's cooked when it comes out clean. 


Yum! I'm not completely sure why they call it a "funnycake". Maybe it's the fact that it's a cake within a pie crust, maybe it's the sour milk, but I think it's because the cake ends up baking opposite of how it is put in the pie crust to bake! The raspberries end up on the inside and the cake becomes the crust on the top. Either way, it was quite good! 


I gave this recipe a 5 out of 5 on the yummy scale! 


It definitely had a few strange ingredients and methods of cooking, but overall I would definitely recommend trying this fruity dessert! 

Thursday, November 1, 2012

Cranberry Muffins

Cranberry Muffins


This recipe was under the B tab for breakfast. 

I'm not sure where the original recipe came from, but it doesn't look like a newspaper clipping. It may have been in a cooking book or a pamphlet you can sometimes find in a grocery store. Judging by the use of the brand name flour included in the recipe it may have been an insert that came with the product. 

Cranberries make me think of fall so I thought this recipe would be perfect for a delicious breakfast! I make a similar recipe of cranberry nut bread for Thanksgiving every year and our family can't get enough of it. This muffin recipe can be made any time of the year. 

The original:


Cranberry Muffins
1 Cup fresh or frozen cranberries, halved
½ Cup sugar
2 Cups Gold Medal Flour* (regular or Wondra)
2 Tablespoons sugar
3 Teaspoons baking powder
1 Teaspoon salt
1 Egg
1 Cup milk
2 Tablespoons salad oil or melted shortening
1 Tablespoon grated orange peel

Heat oven to 400. Grease bottom of 12 muffin cups. Combine cranberries
and the ½ cup sugar; set aside. In mixing bowl, stir dry ingredients together
make a “well” in mixture. In another bowl beat egg with fork; stir in milk,
salad oil, cranberries and grated orange peel. Pour all at once into dry
ingredients; stir just until flour is moistened. (Batter should be lumpy. Do not
over mix). Fill muffin cups 2/3 full. Bake 20 to 25 minutes or until golden
brown. Muffins will have gently rounded and pebbled tops. Loosen
immediately with spatula. Makes 12 medium muffins.
* If using Self-Rising flour, omit baking powder and salt.

You should have most of the ingredients already in your pantry. Don't worry about having to use Gold Medal flour. You can use any brand of baking flour. By "salad oil" they mean canola or vegetable oil. I also added chopped walnuts to the recipe because I like added crunch. Let's get started! 

Heat your oven to  400 degrees first and get your muffin tins ready. I used two large sized muffin tins, but the batter only ended up making one tin (6 jumbo muffins). You can use paper muffin cups if you'd like, but I used Crisco to grease the cups and they popped out just fine after cooking. 


When your oven is on and your tins are greased (or papered) you can move on to the sugar and berries. If you're using fresh cranberries (as I did) you need to wash them before halving them. Be sure to discard any squishy berries. Those tend to be spoiled and will make your muffins super sour! Carefully cut each berry in half until you have a full cup. 


After the cranberries have been cut go ahead and add them to a mixing bowl. Next you'll add the 1/2 cup of sugar to the berries. Mix them together so the berries are coated well. 


Go ahead and put the berry mixture aside and get another mixing bowl for the dry ingredients. Mix together the flour, sugar, baking powder, and salt in the second bowl. 


When they've been mixed together well you'll need to create a well in the middle of the mix. Do this by moving your spoon around the middle of the mixture until you have a medium sized depression. You'll want a little bit of the mixture left on the bottom of the bowl so don't completely clear out a hole. 


You can now put the dry ingredient mixture aside and start the wet ingredients. In another bowl, beat the egg until it is mixed well then add the milk, oil, and orange peel. 


When the wet ingredients are mixed together well you can add them to your cranberry mixture or vice versa. I added it to the cranberries because that bowl was slightly larger. Mix the berries and wet ingredients together well.


Next, pour the wet ingredient mixture directly into the flour mixture that you created the well in. Mix them together well, but not too much. The mixture is ready when all of the flour has been incorporated and it is still lumpy. If you're adding any nuts into the mixture this is where you can do so. I used a 1/2 cup of chopped walnuts. 


When the mixture is complete go ahead and pour it into the muffin tins. Be sure to only fill each cup 2/3 of the way full. 


For a little added crunch and flavor I sprinkled the top of each muffin with sugar before putting them in the oven. Once you have the muffins in the tins go ahead and place them in the oven. Mine took 25 minutes, but probably could have a used a little more time for a more golden color. You'll know they're done when a toothpick inserted into the middle of them comes out clean. 


When the muffins are done cooking go ahead and remove them from the oven. If you didn't use paper muffin cups be sure to loosen them  by sliding a knife around the edge of each muffin. You can then let them cool in the tins or transfer to a cooling rack. These muffins are best eaten when they're warm!

I gave this recipe a 5 out of 5 on the yummy scale! 

The recipe was fairly easy to follow and didn't have the need for electric appliances. The flavors and spices were the perfect amount for each muffin and the cooking time was correct as well. I may be biased since I like the cranberry and orange combination, but I think these muffins are delicious! Definitely try this recipe! 


Thursday, October 25, 2012

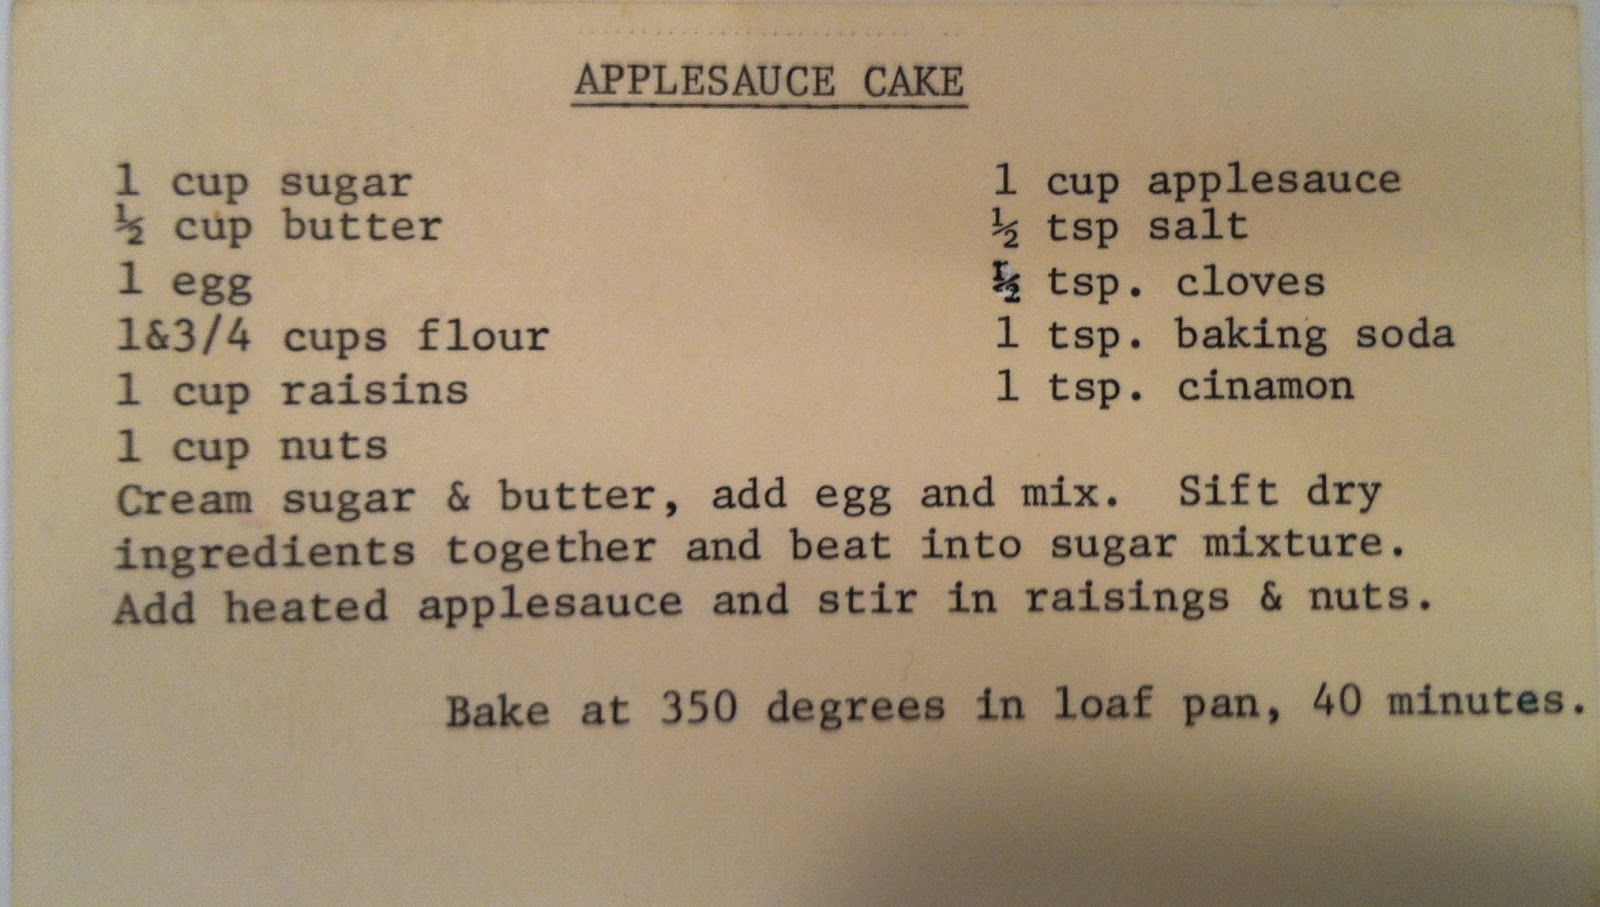
Applesauce Cake

Applesauce Cake


This recipe was listed under C for cakes.

A lot of people use applesauce in their baking instead of dairy products now. This recipe is older, but I'm not exactly sure where it came from. It's interesting to see that a popular way of cooking was trending back when my Mom was collecting recipes as well. 

This cake is more of a bread than a cake, but is worth trying! It will make your house smell delectable while it's cooking! 

The original:


Applesauce Cake

1 Cup sugar
½ Cup butter
1 Egg
1 & ¾ Cups flour
1 Cup raisins
1 Cup nuts                                  
1 Cup applesauce
½ Tsp salt
½ Tsp cloves
1 Tsp baking soda
1 Tsp cinnamon

Cream sugar & butter, add egg and mix. Sift dry ingredients
together and beat into sugar mixture. Add heated applesauce
and stir in raisins & nuts.
Bake at 350 degrees in loaf pan, 40 minutes.

This recipe is fairly easy to follow, but definitely be sure to preheat your oven before starting and grease your loaf pan. You could also use a regular cake pan if you'd rather have a cake shaped treat! 


First you'll want to warm up the butter so it will mix well with the sugar. A 1/2 cup of butter is one full stick. I heated mine for about a minute and it was a nice soft texture to work with after. Combine the butter with the sugar in your bowl. You should have a lumpy mixture like this: 


Now you can add the egg to the sugar and butter and mix until it is light and fluffy. 


Once the egg has been mixed in with the sugar and butter you can put the mixture aside. You'll need another bowl and a sifter for the next step. Sift together the flour, salt, cloves, baking soda, and cinnamon. By sifting them together you're ensuring that the spices will distribute evenly and there won't be any lumps of dry ingredients. 


When you've finished sifting together the dry ingredients, go ahead and add them to the original sugar mixture. Continue mixing until the dry ingredients have been incorporated. It will seem very dry, but don't worry; we'll add the applesauce soon and that will moisten it up. 


When the dry ingredients have been incorporated into the mixture you're ready to add the applesauce. I used cinnamon applesauce, but feel free to use any flavor you'd like. You can also use a chunky style for larger pieces of apple. Before adding the applesauce to the mixture be sure to heat it until warm. Mix until the ingredients are well incorporated. 


Yum! The mixture smells so good! Now you can add the raisins and nuts, but don't use an electric mixer for this part. You can just mix them in with a spatula or spoon. I used walnuts that I chopped into chunky pieces. I also omitted the raisins since I'm not a big fan of them. You can use any kind of nut or dried fruit that you like. 


Be sure to mix the nuts and dried fruit evenly. Your final mixture should look similar to this:


When all the ingredients have been added to the mixture go ahead and put it into your greased loaf pan or whatever size/shape pan you're using. 


It's ready for the oven now! The recipe says it will be done in 40 minutes, but mine took a full hour and could probably have even used a little more time. Go ahead and insert a toothpick into the center of the loaf after 40 minutes and if it doesn't come out clean then put it back in for a few more minutes. Keep cooking the loaf until the toothpick comes out clean. Let the bread cool for about 10 minutes before turning it out of the pan onto a cooling rack. 


Unfortunately my 'cake' broke in half, but it still tasted great!

I gave this recipe a 4 out of 5 on the yummy scale


The cake was definitely moist and had great flavor, but it had a little too much spice for my liking. If I ever remake the cake I would use only about 1/4 teaspoon of cloves and also make the walnut chunks larger. Overall this is a great fall recipe! 


Thursday, October 18, 2012

Peanut Butter Pudding Cake

Peanut Butter Pudding Cake 


This recipe was listed under P for pudding although it didn't really come out like a pudding, but we'll get to that later! 

Peanut butter is a favorite for many and a enemy to some. Lately people (mostly kids) have been developing horrible peanut allergies so I definitely don't recommend making this recipe if that person happens to be you. 

My mother never made this recipe, but was a skeptic about a pudding cake being something good.So was I and you'll find out exactly what I think about this interesting newspaper recipe! 

The original:


Peanut Butter Pudding Cake

 1 Cup all purpose flour
1 & ¼ Cups packed brown sugar
2 Teaspoons baking powder
½ Teaspoon salt
½ Cup milk
1/3 Cup chunk style peanut butter
2 Tablespoons cooking oil
1 Teaspoon vanilla
1 & ½ Cups hot water

1.      Thoroughly  stir together flour, ¾ cup of the brown sugar, the baking
powder, and salt. Add milk, peanut butter, cooking oil, and vanilla.
2.      Spread in a greased 8-by 8-by 2-inch baking dish. Sprinkle with
remaining brown sugar. Carefully pour hot water over entire top.
3.      Bake in 350 degree oven for 45 minutes. Serve warm with vanilla ice
cream.
4.      Serves six.

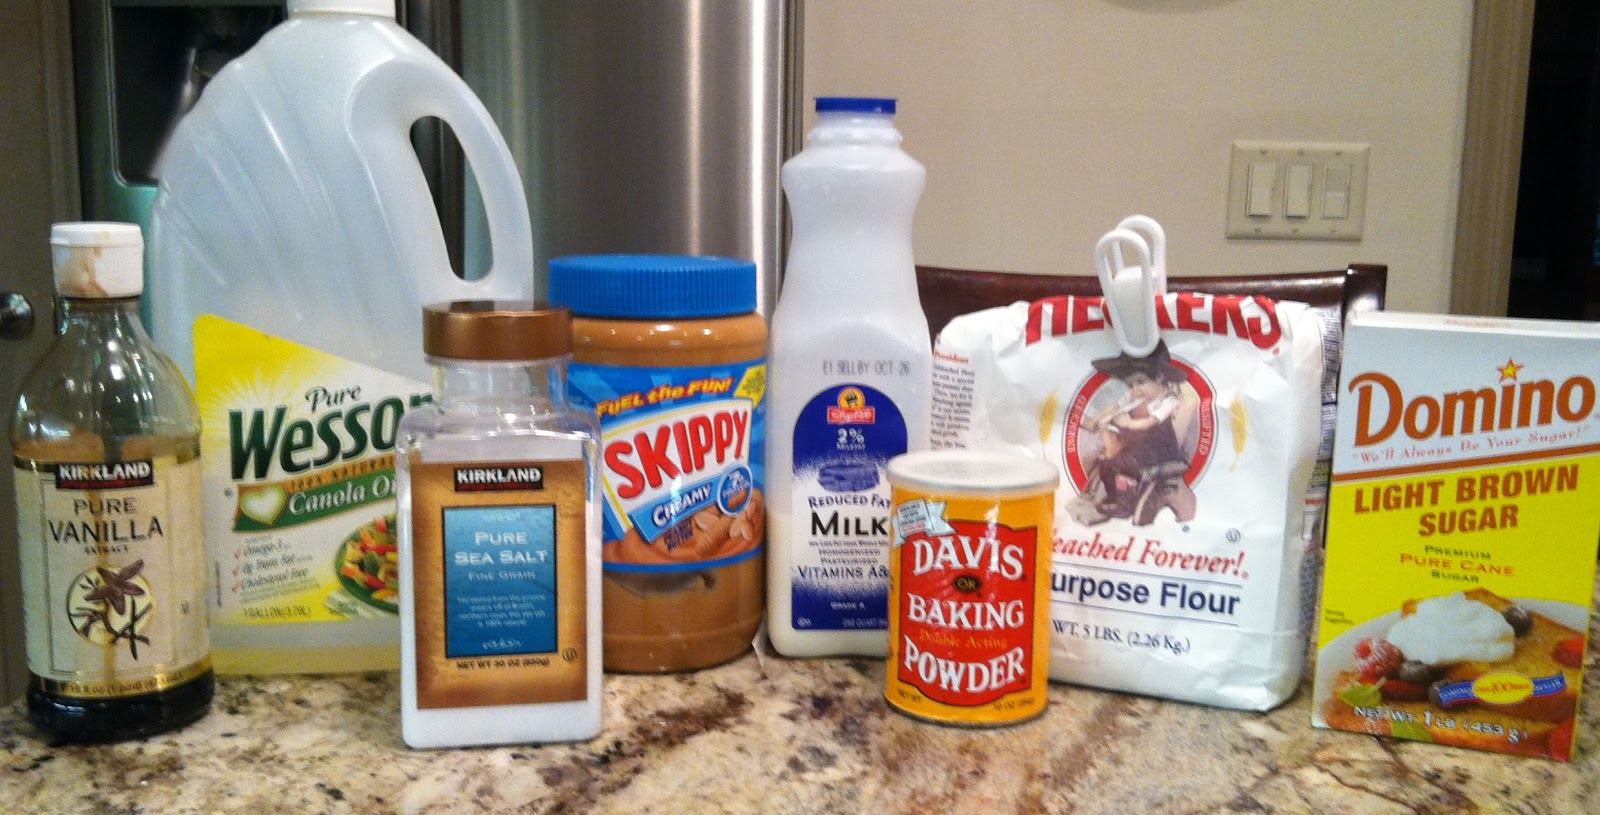
     This recipe has a small amount of ingredients so it shouldn't be hard to find them all in your kitchen already. I don't enjoy chunky peanut butter (consistency issues!) so I opted for the creamy kind. You can use either light or dark brown sugar. I had a brand new box of light brown sugar so that's what I used. In case you were wondering, cooking oil is Canola or vegetable oil. (Definitely DON'T use olive oil!) For the hot water I just heated a medium sized pot of water on the stove while I mixed the ingredients. 


      First things first, preheat your oven to 350 degrees and try to find the squarest baking dish you have. I didn't have an exact 8x8x2 baking dish so don't worry if it's not exact to the measurements. Make sure to grease the dish well; I used Canola oil spray.

      A good thing about this recipe is that there's no need for an electric mixer of any kind! It's     simple as can be and only requires a large bowl and spoon. First, you'll need to add the flour, 3/4 cups of the packed brown sugar, baking powder, and the salt to the bowl. Mix them together well so the sugar isn't chunky. 


     Once the dry ingredients are mixed together you can add the milk, peanut butter (style of your choice), cooking oil, and vanilla. I mixed each one in separately before adding the next liquid to be sure they distributed evenly. The mixture will be very sticky and gooey. I was surprised by the size of it so don't be alarmed that it's not a large amount. 


     Now you'll need to put the mixture into the pre-greased baking dish. I had trouble spreading it out evenly because the dish was so slippery. My suggestion to you would be to grease the spoon you're using before trying to spread it out. 


     Once the mixture is spread out evenly go ahead and sprinkle on the remaining portion of brown sugar (1/2 cup). It seems like a lot (and it is), but that's what the recipe calls for. Don't hesitate to adjust the amount of sugary goodness on the top to your liking. 


      Here comes the strangest part of the recipe; now you're going to pour the hot water over the entire mixture. I hope I'm not the only one who think is strange! 


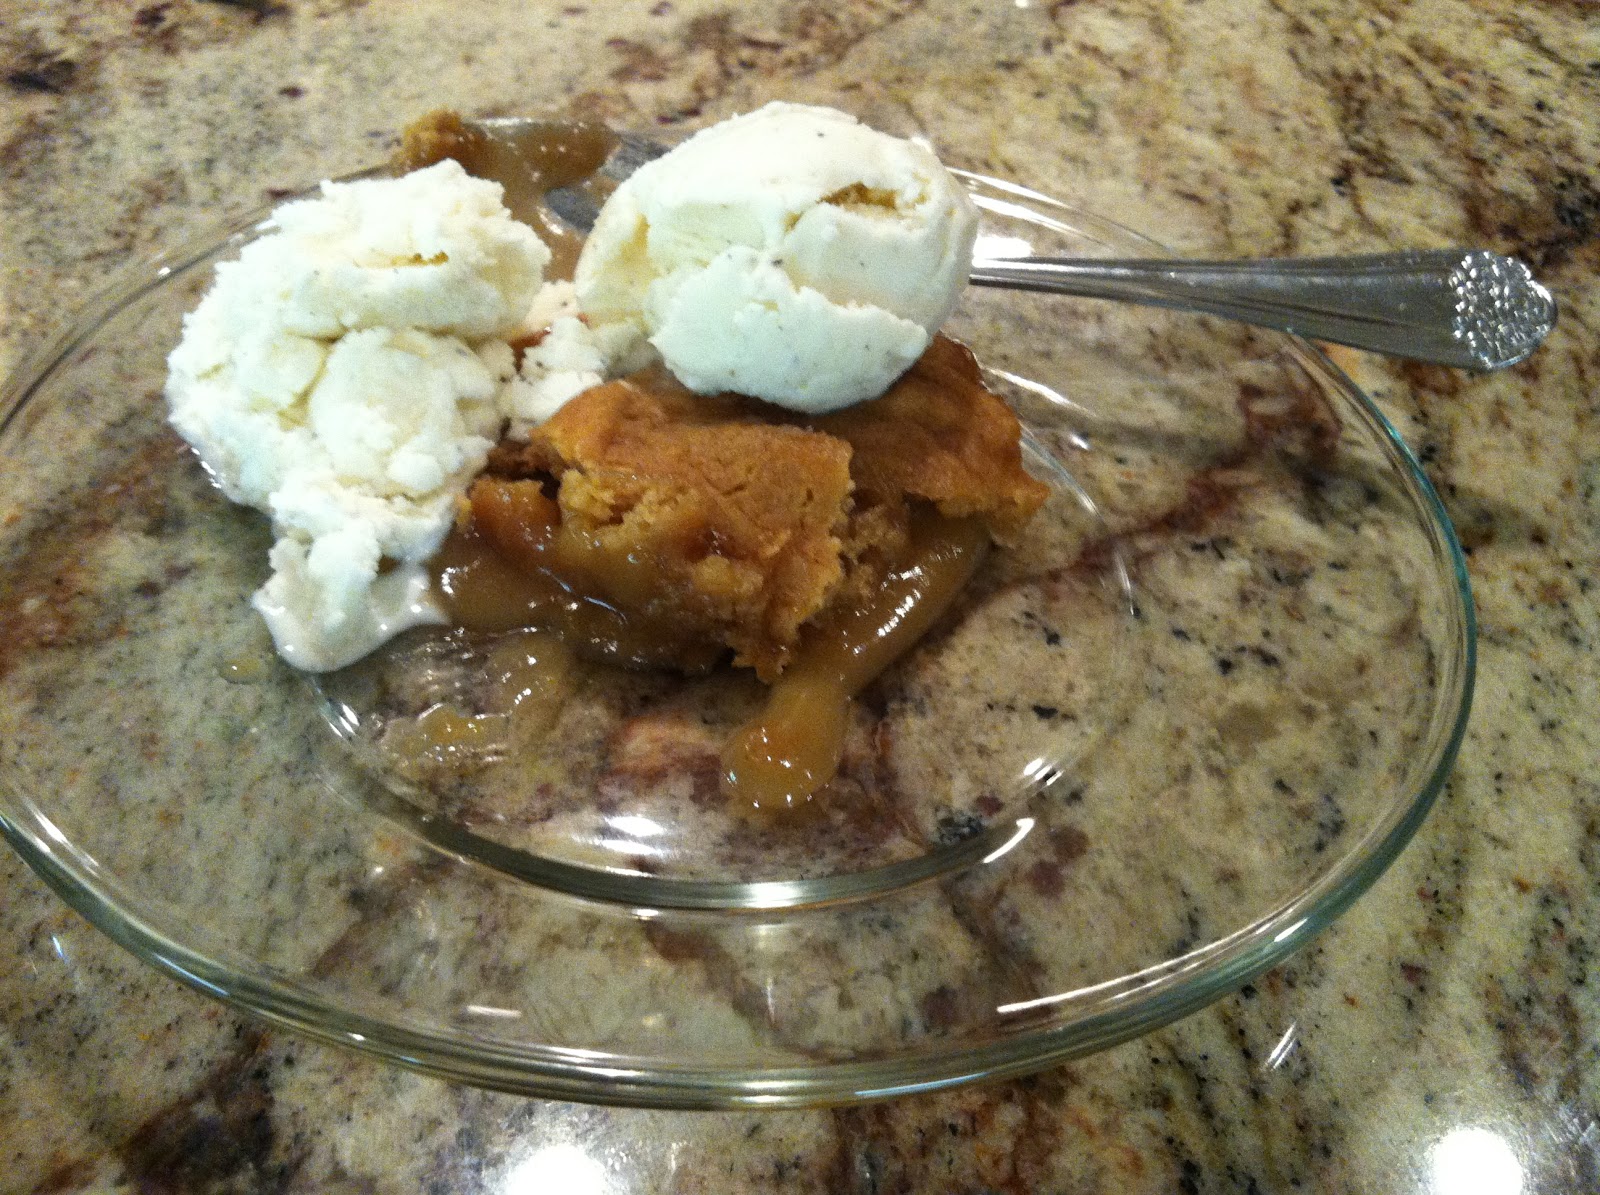
      Now that you've got this slimy mixture together go ahead and put it in the pre-heated oven, but be sure to use pot holders because the dish will already be hot. Mine cooked for exactly 45 minutes and came out looking like this:


      Not very appetizing, but I thought it looked like a peanut butter cookie on the top with bubbly goo around the edges. Unfortunately, that's exactly what it turned out to be! 


      Don't let the picture fool you!!! While it looks pretty delectable that's far from the truth. It wasn't so bad that I couldn't eat it, but texture is a touchy subject for me when it comes to food and this just wasn't a pleasure texture. 

       I gave this recipe a 2 out of 5 on the yummy scale. 


     While it wasn't so bad that I couldn't eat it, it was not pleasant. I'm not sure why I was thinking it would come out like a warm cookie, but I was completely wrong. Maybe you'll like it though. I took a gamble on this newspaper recipe and I never will again! 

     This recipe is definitely not one of the greatest, but if you're a peanut butter lover don't be afraid to try it. Maybe you'll love it too!